Showing posts with label nail tutorials. Show all posts

Tuesday, July 8, 2014

Ciate Denim Manicure Tutorial & Review

Happy Tuesday everyone!!

I hope ya'll had a wonderful holiday weekend and a great 4th of July :)

Today I am going to show you quite possibly one of the coolest manicures I have ever done!  The Ciate Denim Manicure.  (PS-the gold and blue theme will continue over to the next crafting post!!)

It is amazing and super easy!!  Get It Here!


As you can see, yet another wonderful idea from Ciate that comes with everything that you need to rock a denim mani!!

The kit comes with a beautiful blue polish that kind of drys to a matte like denim texture, gold and bronze studs, gold and white stitching templates and the nail glue.

First you are going to want to paint your nails with two coats of the polish.


Then you are going to use your imagination and decide how you want each nail to look :)  That is the fun part.

You will take the paper with the stitching on it and cut the appropriate size you want for the corresponding nail.

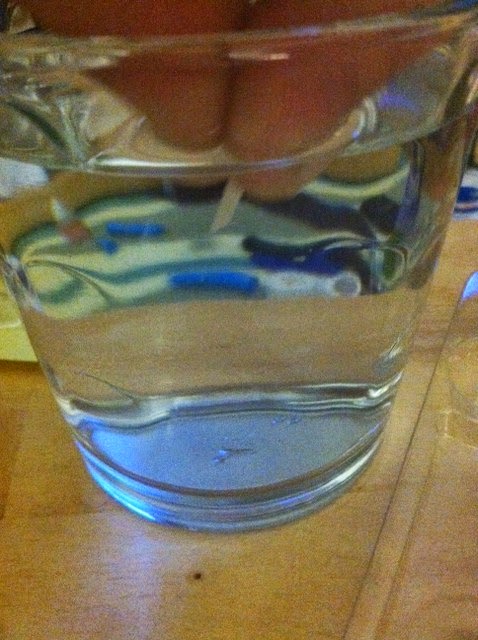
You then take the piece and dip it in water for 10 seconds.


When you take the paper out of the water, you will slide off the transparent top (exactly like a stick on tattoo, I am sure we have all played with those!).  Lay it on your finger, and tap it to adhere it to the nail.


I mean, how cool is that!!
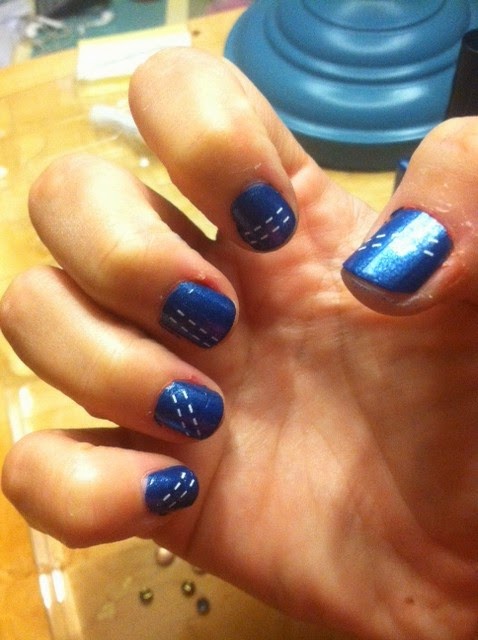

Since I used the white first, I then went over some of the fingers with the gold stitching.


Next pick the studs that you want to put on.  I found it was super easy when I used tweezers to pick them up and to put them on.


There are so many options, it is really hard to choose.

Dot some of the nail glue right on the stud.  The directions say to put the glue right on your nail, but I found it very hard to get them to stick that way.

Put the stud on the glue on your nail.  Press down for 10-15 seconds.  Then cover the whole nail with a top coat.  I used a fast dry top coat.


Finish decorating all of your nails and then add a second top coat to ensure everything will stick on really good!! :)


TA DA!!!

How incredible does that look?

Overall, this was the best manicure kit I have used from Ciate yet.  It was super simple and really came to be quite stunning.  I really don't think that any of the studs are going to come off any time soon.  The nail polish is just so pretty too!

Have you used the denim manicure kit?

What is your opinion of it?

Have any tricks?

Let me know in the comments below!

Have a great day!!


Wednesday, July 2, 2014

4th of July DIY Nails

wreath courtesy of my mother in law :) 
 JULY has arrived ya'll!!!  That means Summer is here. I love Summer.  I love the sun and being tan and wearing dresses.  I love warm nights under stars and going to county fairs :)

Every year, my husband and I go down south to Kentucky to spend the 4th with his family.  We are leavin tomorrow!  We stay with his aunt and uncle who have a horse farm,  Shaker Ridge Farms.  It is wonderful.  We spend most of the time in the pool and taking pictures with the youngen's and the horses.  And then we shoot off fireworks :)

Here is my adorable nephew, Sean :) 

I knew I wanted to do my nails with a 4th of July theme so today I am going to show you a simple DIY, 4th of July nail tutorial.


Here are the supplies.


I brought out the big guns as I didn't really have a plan going into this :)  Now, really all you are going to need are:

Blue nail polish
Red nail polish
White nail polish
Glitter (of course!)
Stick on stars
Top Coat
Dotting Tool or Toothpick or Pen

Lucky for me, GlossyBox gave me the PERFECT colors.  I have been searching for a navy color for so long, this really came just in time :)


My white is from an As Seen On TV kit I got at Walgreens,  Hot Design Nail Pens.


What's nice about these is they have the brush for painting and the pen for designing on the same end.  And as of now, it is the truest white I have.

My packs of glitter and my brushes came from KISS Nail Art Kit.


Okay, so first I painted my pinky and index finger navy blue.  Then I painted my ring finger and my thumb red.  And finally, my middle finger white.


I decided I wanted to put glitter on my ring finger as an accent finger.  So while the nail is still wet, sprinkle some glitter evenly over the nail.  Tap off excess.


I wanted the white finger to be the star of the show with the silver stars on them.

Take the dotting tool (or whatever you are using) and dab it with your top coat nail polish to pick up the stars.


Then dab the star onto your finger.  Again, do this while the white nail polish is still tacky to ensure the stars will stick.


Make sure you count how many stars you have.  I did not.  So I have 5 on one finger and 3 on the other finger :)

After the deco part of the nails is done, cover each finger with your top coat to seal everything in.

Done!!


What are your 4th of July plans??

Do you have a go to holiday mani or pedi?

What are your favorite brands to use?

Share with me in the comments below!!

PS-Congrats again to Dorene R., the WINNER of the Beauty Package Giveway Contest :)  I had so much fun with everyone that I can't wait to start on the next one :)

Have a great day!!!


Blogging tips