Showing posts with label crafting tutorials. Show all posts

Tuesday, July 22, 2014

DIY Glitter Mugs & Mason Jars Tutorial


Good morning!!  This weekend was super busy and we also have a new addition to the family! A new puppy, Shelby.  Her mama stopped nursing her so we saved her and officially have a newborn in the house! Late nights and bottle feedings have been consuming us and we love it even though we are missing out on some sleep :)

During times the puppy was down, I was able to pop out a few crafts and wanted to share.  This is a super simple yet beautiful craft that can also be a wonderful gift!

Here we go....DIY Glitter Mugs & Mason Jars Tutorial :)

First, let's get the supplies....


  • Mason Jars
  • Coffee Mugs
  • Glitter
  • Foam Brushes
  • Painters Tape
  • Dishwasher Safe Mod Podge


For the glitter, I strongly recommend Martha Stewarts Florentine glitter.  It is very very fine and adheres very well.  I used that for the glitter mugs (you can get an entire kit from Darby Smart HERE but remember to first sign up HERE and get $10 off your first order!!) and regular glitter for the mason jars.  I will only be hand washing the mason jars because of that.

I have a few "optional" items in here that can be used if you choose.  Like sharpies and stickers.  For the coffee mugs, if you do decide to use sharpies, that would be the first step.  You need to bake them in the oven so you don't want the glitter on if you do that.  Also, I recommend using oil based Sharpies and washing them by hand.  I had made one for my sister in law without using oil based but never heard if it washed off so I did some more testing on my own.  Make sure you are using a clean, dry mug.  So, after you doodle on them bake them in the oven at 350 degrees for 20 minutes and let them cool.  The stickers would be treated the same way as the tape, which I will show you below.

Here is the star of the show!!


Dishwasher safe Mod Podge! I am in heaven and am going to glitter everything :)

Okay, down to business. Here are my mugs and mason jars.


Again, make sure they are clean and dry.

If you are going to do designs on them, you can free hand or tape off the areas that you want. I think painters tape works best.


Make sure to get under and around all handles and lids.

Lay out some newspaper or coffee filters.  I like the coffee filters and only buy them for crafting as I can easily pour the fallen glitter back into the container to reuse.  Then take your foam brush and paint on a thin layer of mod podge.  Quickly sprinkle the glitter all over the wet areas, evenly.


Let dry upside down for 5 minutes.  Then apply a second coat of mod podge by dabbing the brush on the mug.  You don't want to wipe off or mess up the glitter you already applied as it will still be damp.  Sprinkle on a second coat of glitter.  If you want to add more coats, keep allowing to dry for 5 minutes in between each coat.  I then let them dry upside down overnight. Before you set them to dry overnight, make sure to remove the tape and/or stickers slowly and carefully so it does not mess up the glitter. Do not put them in the dishwasher for 28 days as they need time to cure.


Now you can get crazy with different types of designs or cover the entire mug or mason jar!


TA DA!!


I have another mason jar I am still deciding on how to decorate.  Plus I also want to do some more mugs for gifts this year but don't want to spoil the surprises here!!  These are perfect for an outdoor summer party or just to feel fancy with your coffee and tea in the morning :)

Have you ever made a craft like this before?

If you decide to, please share your pictures with us as we would love to see them!

Have a great day!!


Tuesday, July 8, 2014

Gold Leaf Frame-DIY Whimseybox Craft Tutorial


As an earlier post explained, in addition to my monthly beauty subscriptions, I also have monthly crafting subscriptions.  Needless to say, I am constantly busy :)  The crafting subscriptions are Darby Smart and Whimseybox.  Sign up today and instantly get credits towards projects!!

This post is a tutorial on my June Whimseybox project, Gold Leaf Frame.


Each kit comes with everything that you need for that project plus they usually have enough to do another project!  What is nice about this project, is you can simply do this with just getting some gold leafing sheets, too.

Here are all of the supplies the kit came with.


So if you want to get them yourself, here is what you need:

Blank frame
Gold leafing
Paintbrush (fine tip)
Sponge applicator brush
Glue
Sealant
Rubber gloves
Optional: Letters (kit did not come with them) and paint for the letters

My supplies, including what I purchased 


Let's get started, first determine where you want your gold leafing to end on your frame.  I am going for a gold dipped look.  Take a piece of paper and draw lines in pencil on the frame.  I initially was going to do stripes and then changed my mind.  Make sure to wrap the paper around the edges and on the inside of the frame so there is not any blank wood space.


Then take your sponge applicator and apply glue in a thin coat where you are going to put the gold leafing.  Keep in mind, the leafing will literally stick exactly where you put the glue.  So on the front, make sure you have created a sharp line.


The glue will need 10-15 minutes to dry.  When it is sticky and tacky to the touch, you know it is ready.

While my glue is drying, I decided to paint some letters to add to the frame :)  I truly am a Junk Gypsy :)


Now that the glue is ready, time for the glitz!!!


You are going to want to put your rubber gloves on now and is really helps while working with the gold leafing.  It is super fragile (Fray-gee-laaay).....

Pick up a sheet at a time and lay it right on the frame.  You can use your fingers to press it down and then take the paintbrush and smooth the leafing all over the frame.  It gives it a smooth, yet textured shiny finish. Its beautiful!!


Continue wrapping it around all the edges.  When you brush the gold after it is stuck to the frame, the excess will simply fall off.


When it is all on, take the sealant and seal the gold leafing all over.


After the sealant has dried, take crafting glue and glue on the letters.  Any glue that shows white on the gold will dry clear.  This is the glue I recommend.


TA DA!!

Donezo :)

Have you worked with gold leafing before?

What are the projects you have done?

Sound off in the comments below!

I hope you enjoyed this tutorial, it turned out beautiful.  You can use the excess leafing for a manicure ;)

Have a great day!!

Monday, June 16, 2014

DIY Summer Wreath Tutorial


Since I have gotten older (still young, but older), I love to decorate my home for each holiday.  I like the whimsical feeling of it and want to start now before I have children so I can follow the tradition with them, too.  In fact, the kiddos will be making all sorts of crafts, they have no idea!! :)

So, since it is June and the Memorial Day wreath is down and it is not time to do the 4th of July wreath, I wanted to make something for the in between time. So today here is a DIY Summer Wreath Tutorial.

Michaels is always having great sales.  And if they are not, then my go to store is Hobby Lobby.  My total for the supplies for this wreath was roughly $30.  You are not going to find a wreath like this for that price and if you do, let me know!!

I already had the vision in my head of what I wanted.  I wanted something country (of course!), something purple and I wanted the letter "M" for our monogram.

So here is what I found:


  • A wooden wreath
  • Sprigs of purple and white flowers
  • A monogram
  • Ribbon
  • Adorable lovebirds
  • Wire beads
  • Spray Paint
The first thing you want to do is actually lay out the items on the wreath before you start gluing them on.  Get creative and be inspired!!  Move things around, change the layout, now is the only time before it becomes permanent :)


First, I know that I want my "M" to be purple and it will take 30 minutes for the paint to dry, so I am going to paint that first.


Now I will go back inside and cut off all of the excess greenery on the flowers.  I only keep a very small piece attached to the flower as I will just be sticking the flowers behind the twigs.


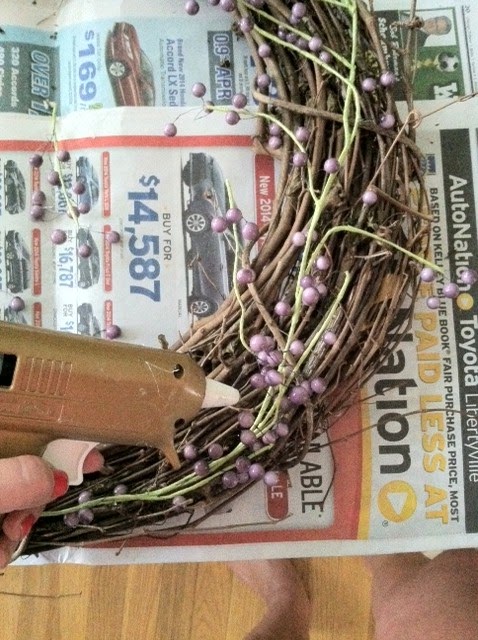
Then I will glue on all of the pieces!! Simple as that!!


Halfway there!

Now I will attach the accent pieces.


Look how adorable these love birds are!!  I can't stand it!!


These actually came with clips on them so I didn't have to wrestle them and get them to stick to the wreath, thank goodness!! :)

Lastly, I just wrapped the ribbon under the flowers, across the top to hang it on the door with.


TA DA!!


What type of holiday decorations do you do?

Do you have a go to summer wreath?

Let me know in the comments below!!

Have a great day!!

Thursday, June 12, 2014

DIY Stag Jewelry Holder

Good morning!!!  I am so excited to share this tutorial with you and to show you just one of the wonderful DIY kits available from Darby Smart.  As a reminder, this is $19 a month for the monthly "surprise" boxes or you can order whatever kits you want directly on their site.  This kit is $29 but with the discount email I received (they send them all the time), I only paid $9 for it!!!  Using the link above will get you $10 off your first purchase!!


Now, as you can see the kits include all of the materials needed for this project, plus enough to do another project too!  I am going to show you step by step so you can buy the items separately from your local craft store if you don't want to buy the kit as a whole.

Here are the items laid out.


Gems, spray paint, E6000 glue, eye hooks, brackets, wood block

Wire, 3 in 1 multi tool, extra bag of gems and spray paint (this is not needed for this project)

The first thing that you want to do is draw the shape or outline of how you want to place your jewels on the piece of wood. I did this free hand.


Put two x's where you want to place the eye hooks.  The eye hooks are where you are going to have the wire "antlers" coming off of.  Then screw in the eye hooks.  Make sure that they are vertical when they come through the back end as that is what you will attach the brackets to hang it on the wall with.


Next you want to shape your wire.  You may want to use gloves to do this.  And this is the hardest step.  Hard in the sense that you want to stretch out your wire as long as you will want it and then curve the wire to form the "antlers".  Just put some muscle into it..or sweet talk it so that it will move where you want it to! :) 

This template was included in the kit but it is not necessary.  This just gives you an idea of how long they can be and what shape to form them to.


Here is my husband showing how to form them

Once you have formed the antlers (remember to double since there are two eye hooks), wrap the end around the eye hooks, tightly.


Here is a Paisley photo bomb! 
Next you are going to spray paint the board and the antlers.  I decided to outline my stag so that it would be easier to see once it was painted over.  You can choose not to do this and just apply a light coat of spray paint.  I decided that I did not want to paint this twice and that is why I went for darkening the outline.


I also decided to do the entire block with spray paint, that way the space between the gems would not show wood behind it.  Once the block was painted, I then painted the antlers so that they had gold tips!


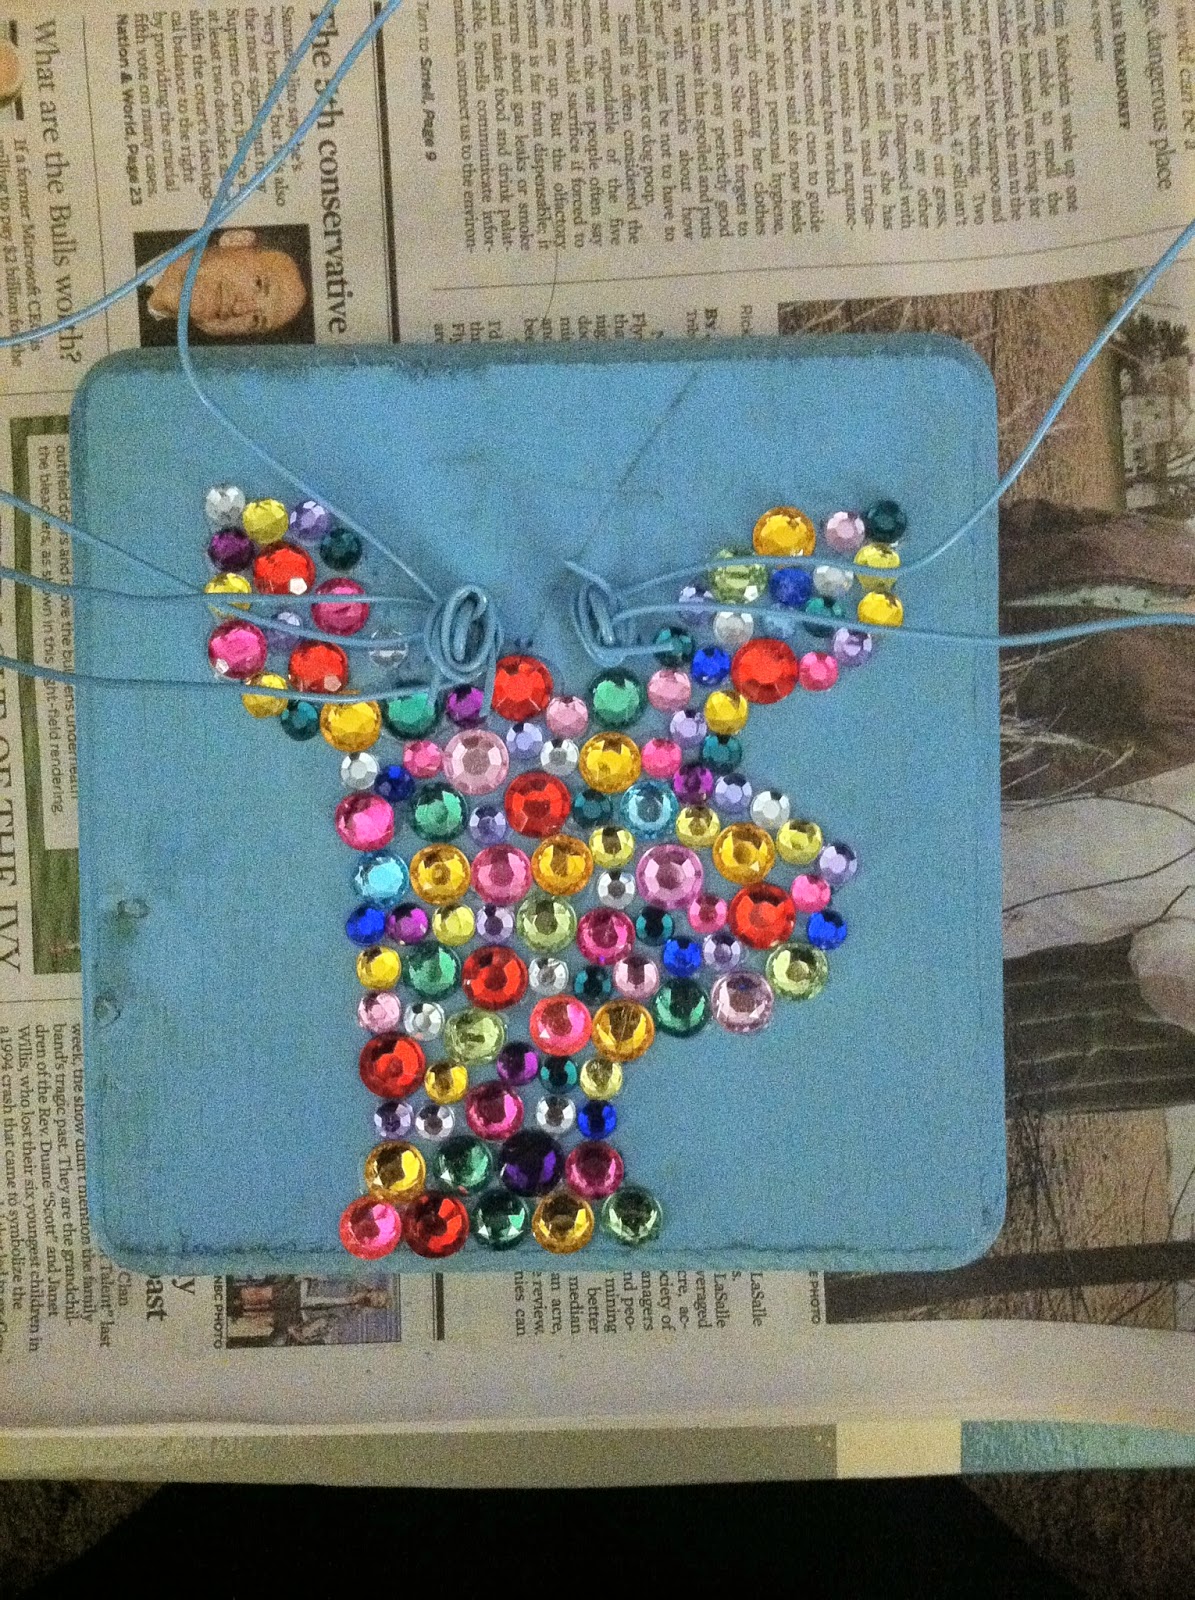
Next you are going to apply the gems and bling it out!!  You can either put glue on the wood and attach the gems or you can put glue on the gems one by one.  I went with putting the glue on one by one and it was a bit tedious haha.

Although it is hard to tell in this picture, the block is all blue


And here is the finished product!!!


I tested the strength with necklaces and the antlers did not move.  If yours move, I would suggest just gluing the wire that is wrapped around the eye hooks for some stability.

I truly cannot say enough wonderful things about Darby Smart.  As you can see by the note in the box they sent me, due to inventory this kit took a little while longer to arrive and they not only gave me a coupon towards my next purchase for $15 off but they also included an extra bag of paint and gems for my next jewelry project! The customer service and quality of their products is exceptional!!  Use the link above to get $10 off your first purchase!!

What are your favorite crafts to do?

Do you have a homemade jewelry holder?

Have a great day!!
 
Blogging tips